Low Point Zucchini Breads

I bought too many zucchinis yesterday and had an overripe banana, so I decided to make some quickbreads! I have noticed that many of the recipes for “low point” baked goods out there use artificial sweeteners. I don’t mess around with artificial sweeteners, so I thought I’d go against the WW grain and experiment with oil replacements instead of sugar replacements. There are a lot of oil replacements out there and I gotta say, they all sound like terrible replacements for delicious luscious oil! So today I decided to try some of them out.

Today I tested two strategies for lowering points:

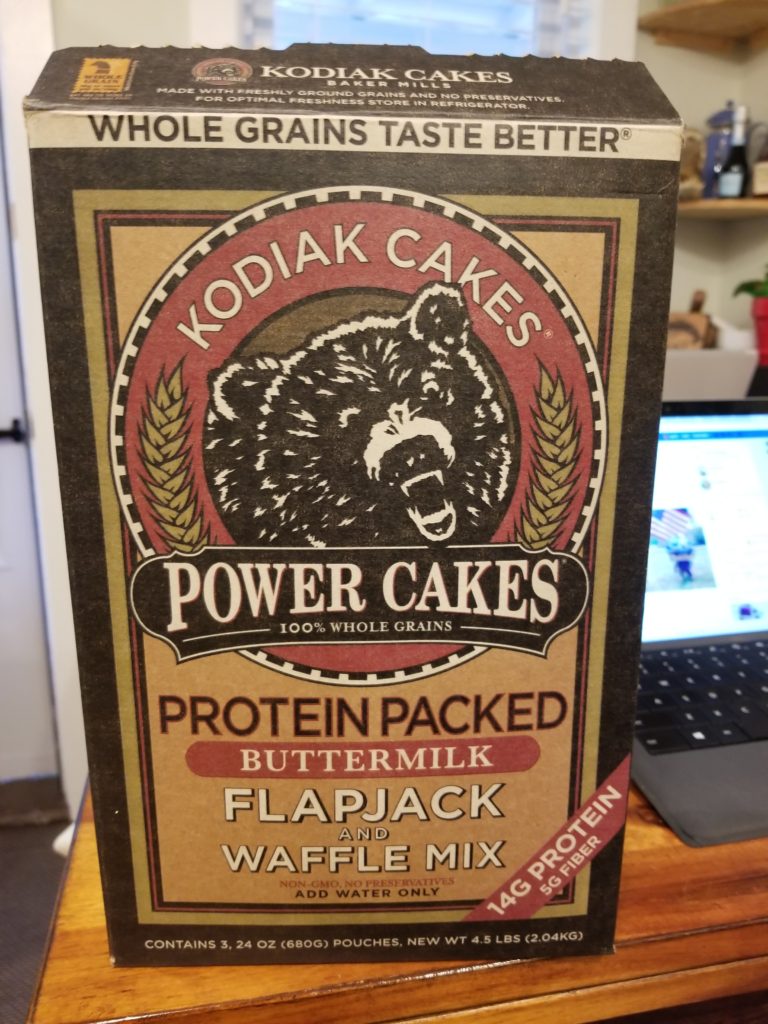
  • Replacing AP flour with Kodiak cake mix. I bought this mix from Costco and have never found a reason to use it, so today is as good as any. 1 cup of AP flour is 13 points, with 13 g of protein. 1 cup of Kodiak mix is 11 points, 28 g of protein. That’s more than double the protein! For every bread, I used this mix in place of flour:


  • Trying out four different oil substitutes, by either substituting the oil by 50% (half oil) or 100% (no oil) with:
    • Nonfat Greek yogurt (A and B, below)
    • Mashed banana (C and D, below)
    • Unsweetened applesauce (E and F, below)
    • Canned pumpkin puree (G and H, below)

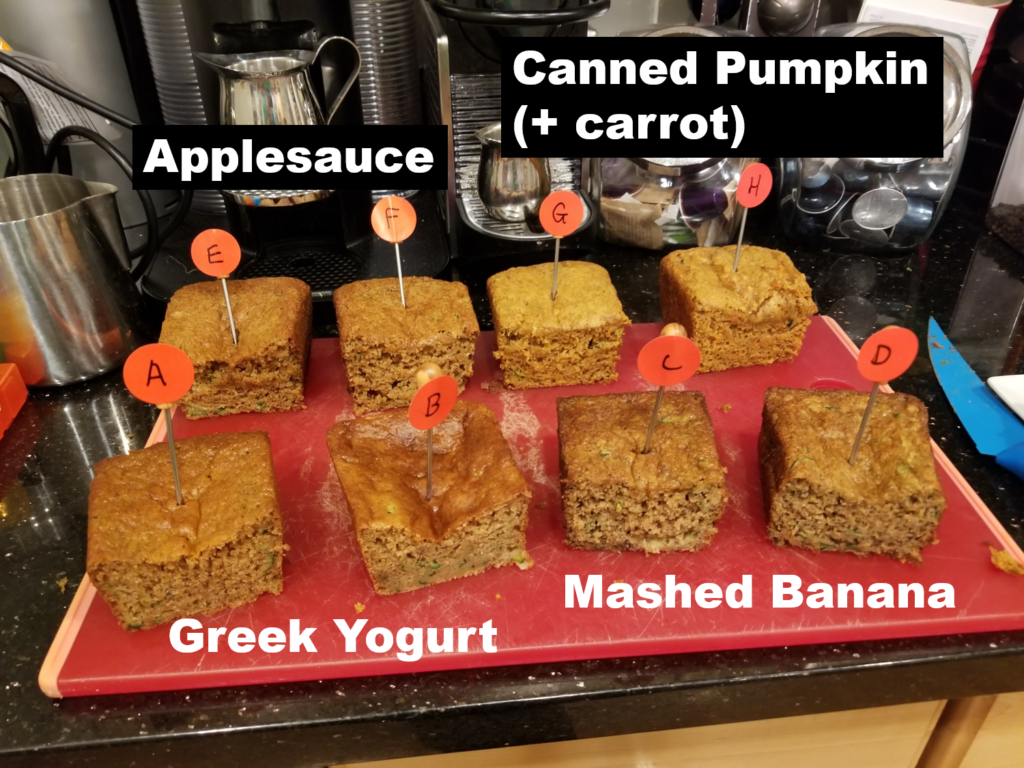
In order to test half-oil and no-oil versions of each oil substitute, I made eight 5×3 mini loaves, each with the same dry base. However, I did not have enough zucchini for 8 loaves, so six loaves (A-F) had 100% zucchini, and two loaves (G and H) had a 50:50 mixture of carrots and zucchini. After careful consideration, I decided to pair the carrot loaves with pumpkin as an oil substitute.

Here they all are:

(For each pair the one on the left is the half fat, the one on the right is the no fat.)

Most were pretty good! In most cases, unsurprisingly, the half fat tasted better than the no fat. Only one was a disaster – the 100% Greek yogurt one (B). It was rubbery and kind of separated into layers. My wife found the pumpkin (which, once again, included carrot) one to be the best in both the half fat (G) and no fat (H) categories. The runner up for half fat was Greek yogurt (A). The runner up for no fat was applesauce (F). Banana (C and D) worked both ways but both really tasted like banana bread. Half fat with applesauce (E) is the only one I have not yet mentioned. I don’t see the point in it, as the no fat applesauce one was pretty good! With all that said, here is an attempt to cobble together a recipe from this experiment:

Dry Ingredients

1 cup of Kodiak cake flapjack mix

1 tsp baking soda

1/8 tsp baking powder

2 tsp cinnamon

½ tsp nutmeg

½ tsp ginger

Wet ingredients

1/2 cup (90 g to be precise) sugar

1 egg

1 tsp vanilla

1/8 tsp salt

Shredded vegetable of your choice:

1 cup shredded zucchini + 1 cup shredded carrot

              -or- 2 cups shredded zucchini

Oil substitute of your choice:

Half fat version:

[2 tbsp + 2 tsp oil] PLUS [2 tbsp + 2 tsp replacement such as pumpkin puree or Greek yogurt]

-or- No fat version:

1/3 cup oil replacement such as pumpkin puree or unsweetened applesauce. If using applesauce, one 3.2 oz squeezy pouch of apple puree is the exact amount you need!

Note 1: Don’t do the no fat version with Greek yogurt – it is rubbery and terrible.

Note 2: You can also use mashed overripe banana as an oil replacement in both the half fat or full fat but it tastes like banana bread.

Instructions:

Preheat oven to 325

Combine wet ingredients. Combine dry ingredients. Whisk dry ingredients into wet ingredients.

Spray two mini (5×3) loaf pans with cooking spray. Divide mixture across the two pans.

Bake at 325 degrees for 30 minutes. Might take a bit longer for 100% pumpkin.

Remove from oven and cool (in pan) on wire rack 10 minutes.

Turn out from pan onto wire rack and finish cooling.

Weight Watcher points

The recipe makes two mini loaves.

Half fat: Full mini loaf has 22 points. Half loaf has 11 points. Quarter loaf has 6 points. Eighth of a loaf has 3 points.

No fat: Full mini loaf has 16 points. Half loaf has 8 points. Quarter loaf has 4 points. Eighth of a loaf has 2 points.

 

WW Recipe MegaPost #1

As promised in my last post, I’m going to start using this blog to share crazy delicious recipes I have found that cost very few Weight Watchers SmartPoints. This is a topic that is very near and dear to my heart, because I really like to eat a lot of food.


For those unfamiliar, Weight Watchers (a program which I have snobbishly rolled my eyes at for over a decade for no good reason) recently changed their system in a highly controversial and intriguing way. From what I gather, they (1) expanded the number of “Zero Point” foods available and (2) in exchange for this they apparently took a bunch of daily points away from people (but gave them back as Weekly Points? I don’t really know…). What I do know is that people were pissed! It made the news. I read the news. I was curious, and glanced at the Zero Point Food list. I was amazed. Beans? Eggs? Corn? Fish? Why are people so mad? These are like basically all of my favorite foods! So at that exact moment, I said “take my money, Weight Watchers, I have to see if this works.”


I signed up on December 5 and unilaterally decided my poor wife would be signing on too. The first week was a little bit brutal, but mostly because we had bought our groceries not knowing that we would be signing up for Weight Watchers. We got used to it pretty quickly, though, adjusted our breakfasts, lunches and dinners, and as of February 5 (our last weigh in) we have each so far lost a little over 20 pounds each, for a combined 43.7 pounds. In two months. This is completely insane. While we have each lost large amounts of weight before, we have never lost weight together at the same time. We have also never lost weight while not, at the same time, being murderously miserable due to starvation. We are seriously never hungry on this plan, and once a week we do try to make it a point to have something awesome like pizza or burgers or nachos. I don’t know how it is working, but it is working.


So, while this is super great, as I mentioned in my last blog post, I can’t indiscriminately throw foods in my cart that I want to try.  I will continue to try things, though, on the weekends. Friday through Sunday is generally when I cash in all of the Weekly Points, FitPoints, and rollover points that I hoard like a squirrel on weekdays. On these days, the Curious Shopper will live on. But at the moment, my food-related obsession is finding recipes that cost minimal SmartPoints with maximal deliciousness. These recipes are mostly for Monday – Thursday, but some are so good we voluntarily eat them on weekends too.


I have been typing out all of these recipes to print out on old timey paper, because I get annoyed with touching electronic devices while cooking. So I’m going to share them here! This is Recipe MegaPost #1. I’ll do more as I acquire more recipes. Please feel free to send me recipes if you have them! I promise I will try them, but be forewarned that I can’t promise I will post them if they are not absolutely delicious. I have zero tolerance for mediocre food.


Lunch Recipes:

Costco Salsa Chicken (0 SmartPoints)

Turkey Pumpkin Chili (1 SmartPoint)


Dinner Recipes:

Salmon Corn Squash Chowder (0 SmartPoints)

Lemony Salmon (0 SmartPoints)

Ground Chicken Larb & Coconut Pineapple Cauliflower Rice (5-6 SmartPoints)


Dinner Side Recipes:

Lemony Beet & Feta Salad (0 SmartPoints)

WW Friendly Thai Dinner (Ground Chicken Larb, Coconut Pineapple Cauliflower Rice, and Magic One Point Peanut Sauce)

The larb is adapted/copied from this “Cooking without Recipes” post from Bon Appetit: https://www.bonappetit.com/columns/cooking-without-recipes/article/chicken-larb-lettuce-wraps

A note to Bon Appetit if you are listening: This dish is super fantastic, but I just typed it out myself below mainly because I am so freaking sick of looking up this freeform monstrosity on my phone with dirty hands and trying to scroll through and interpret it. Recipes exist because they are good, simple structured instructions one can follow when trying to cook. We like them. Don’t do this “Cooking without Recipes” thing anymore. Thanks.

The rice is adapted from a real rice recipe I found in the Weight Watchers app and I am not sure how to credit it!

The Magic One Point Peanut Sauce is my own invention.

Serves: This whole meal is four generous servings of Thai-inspired deliciousness for about 6 SmartPoints per serving.

Ground Chicken Larb

Notes: The ground chicken has to be breast meat, eg. 98% fat free, or it will cost SmartPoints, and we can’t have that! Not all stores have ground chicken breast, I have found. It sucks. Turkey breast works too, but it doesn’t taste quite the same.

  • 1 head butter lettuce
  • A couple of limes, sliced into wedges
  • 1 bunch cilantro, chopped


  • 1/2 red onion, sliced thin
  • ¼ cup rice vinegar


  • 20 g of canola oil
  • 2 lb ground chicken breast.
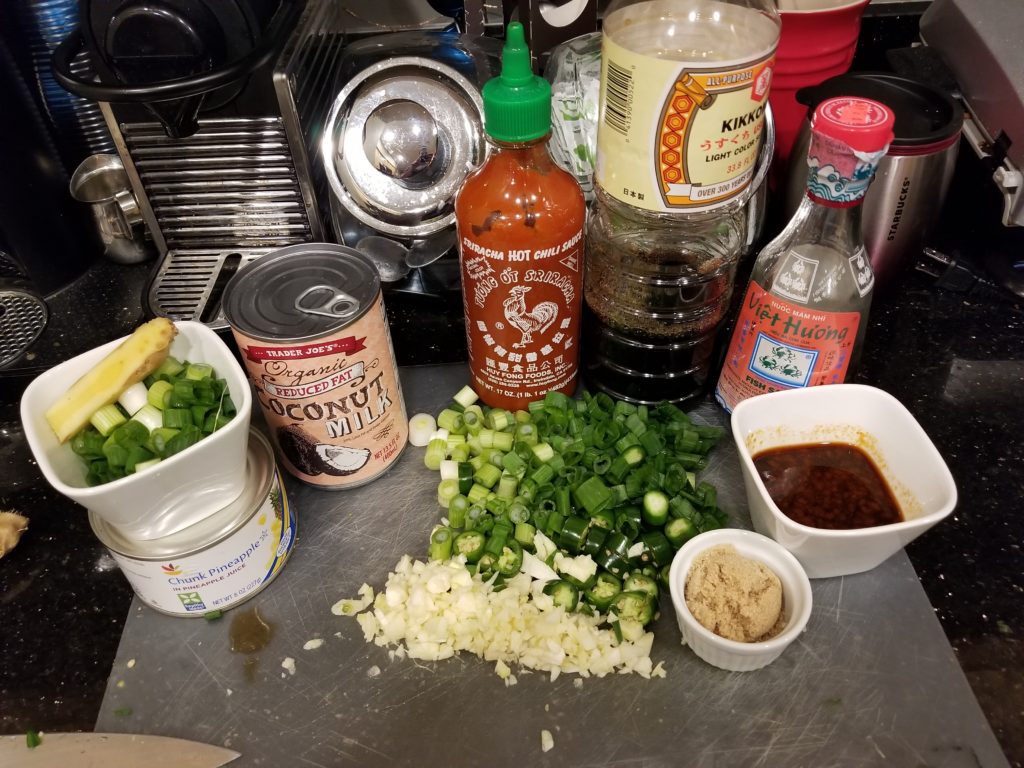
  • Half a large bunch of scallions, or all of a small bunch of scallions, chopped
  • 2 chili peppers (I use serranos because I am a little b*tch but you could use Thai birds if you are braver than me)
  • 4 cloves garlic, minced
  • 4 tbsp soy sauce
  • 2 tbsp brown sugar
  • 2 tsp fish sauce
  • 1 tbsp Sriracha


  • Set the lettuce, limes and cilantro aside for later.
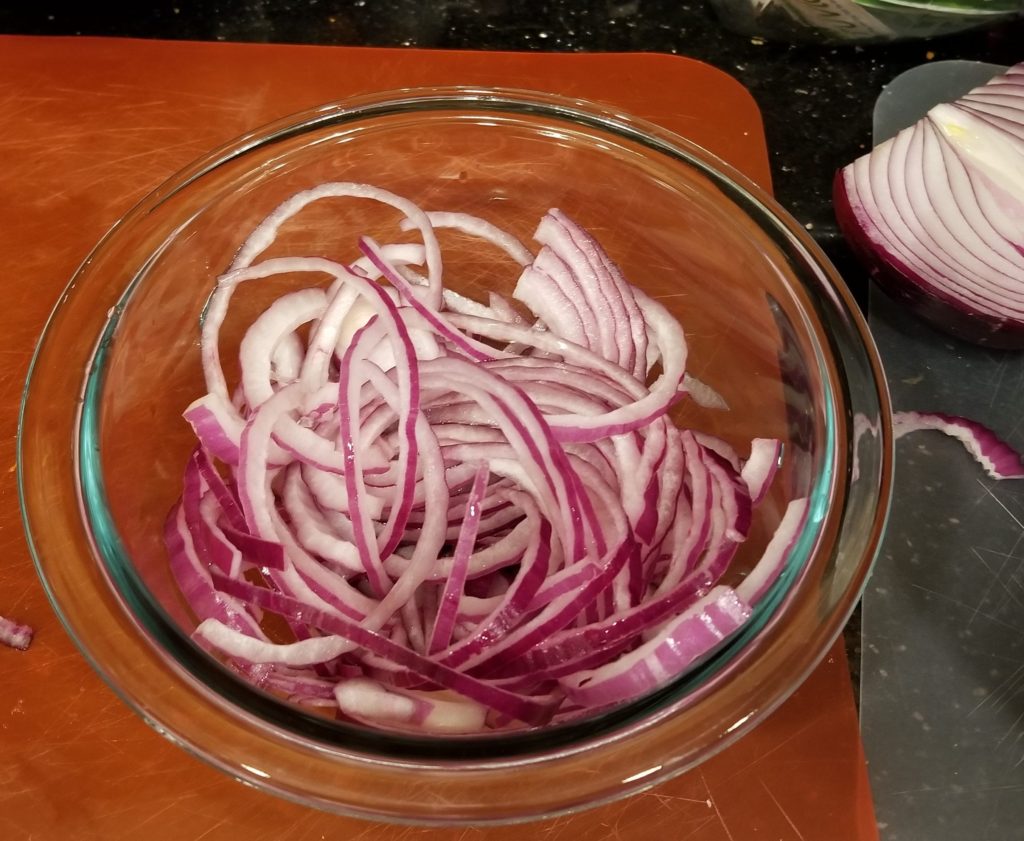
  • Slice the red onion thin and toss it in the rice vinegar. Cover and refrigerate until you need to use it.

  • Put the oil in a large nonstick skillet over medium heat. The recipe says until it is “shimmering,” which I find to be one of the world’s more stupid recipe instructions because oil is always shimmering. The real-world translation for “heat it until it is shimmering” is “heat it until it is hot, but not until it is smoking, and good look with that, sucker.”
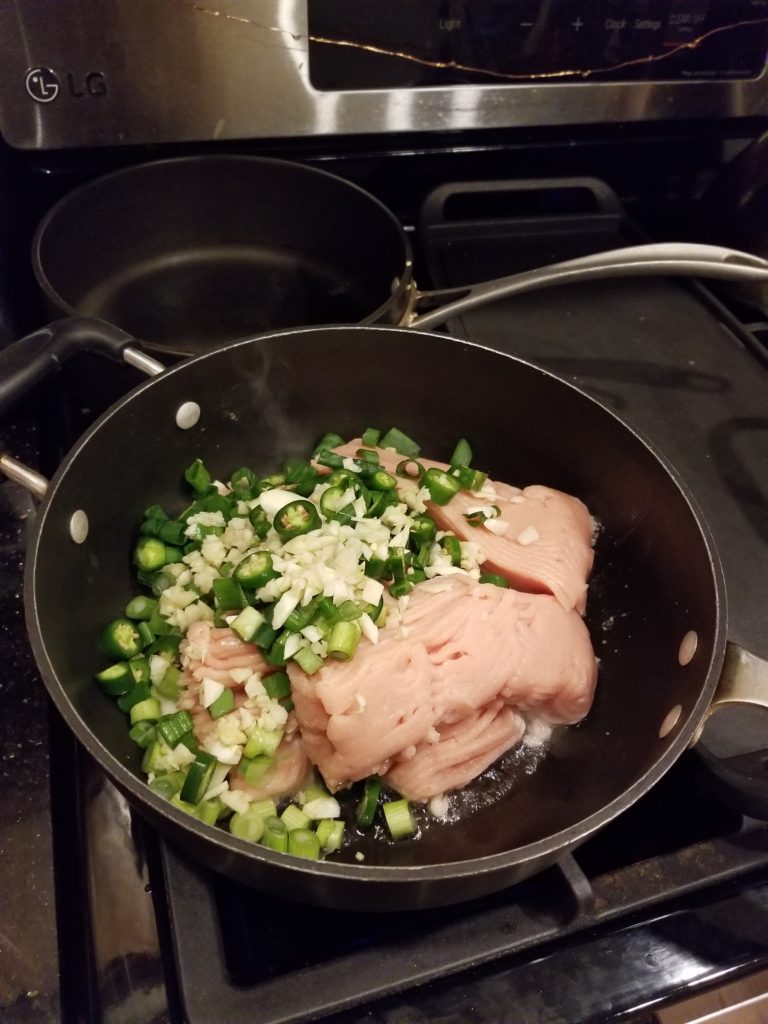
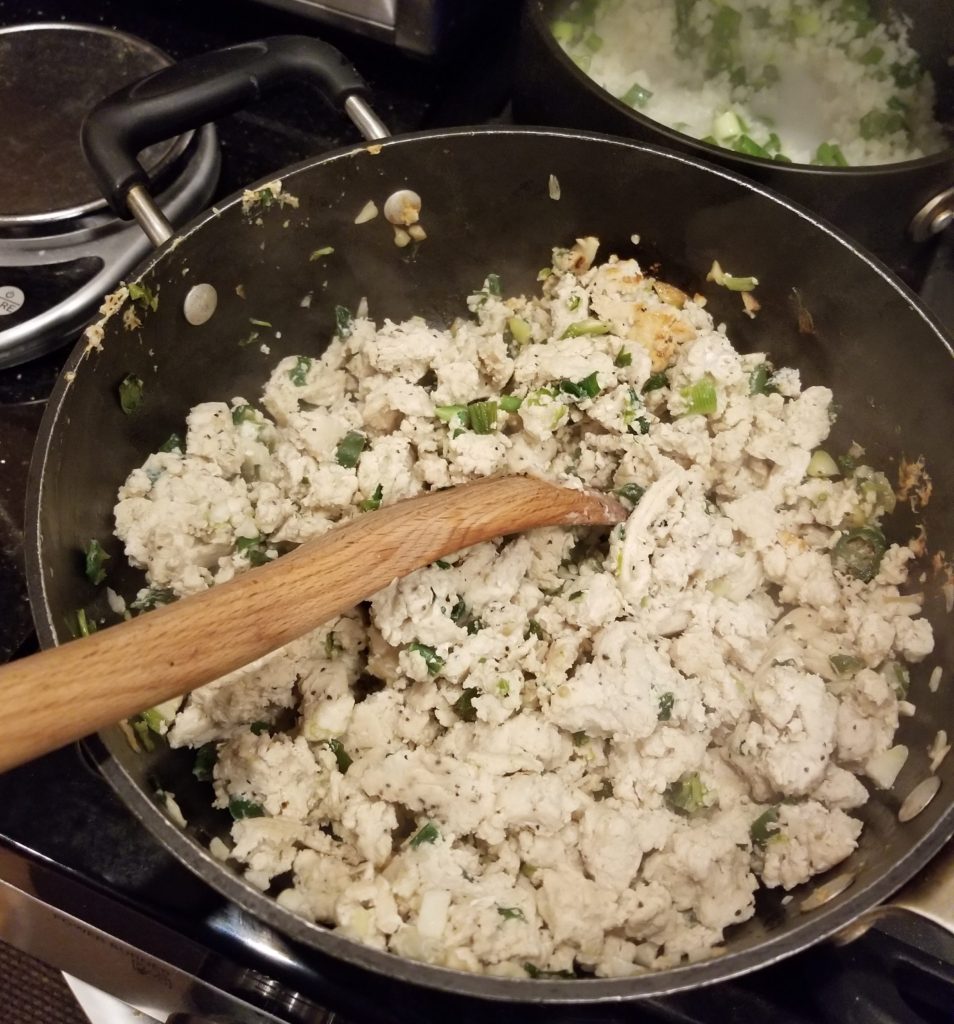
  • Add the chicken breast, scallions, chili peppers and garlic.

  • Heat until chicken is fully cooked through and starting to brown.

  • Add the sauces & sugar, and mix it up real well. Cook for a few more minutes, and serve with the rice and accouterments below.

Coconut Pineapple Cauliflower Rice

Notes: This is a meal where some normally crappy Trader Joes ingredients can really shine. Specifically, Trader Joes usually has the worst riced cauliflower because it’s a bit crunchy, but that is actually best for this purpose, as it mimics the crunchy toasted rice that is usually found in larb. Also, the coconut milk. The deal with the coconut milk is that you want to use whatever portion of a can of lowfat, reduced fat, light, what have you, coconut milk that comes out to be 8 points. I have noticed that coconut milks can wildly vary in their SmartPoints. In this scenario you actually want to be aiming for the terrible cans of coconut milk (again, looking at you Trader Joes) where the fat separates from the liquid because you can pull off the fat and just use all of the liquid, it’s great.

  • 2 packages of frozen riced cauliflower
  • 8 SmartPoints worth of coconut milk, preferably light/reduced fat
  • One small can or half a full can of chunk pineapple, drained
  • Half a large bunch of scallions, or all of a small bunch of scallions, chopped
  • 1 tsp grated fresh ginger
  • Salt & pepper to taste

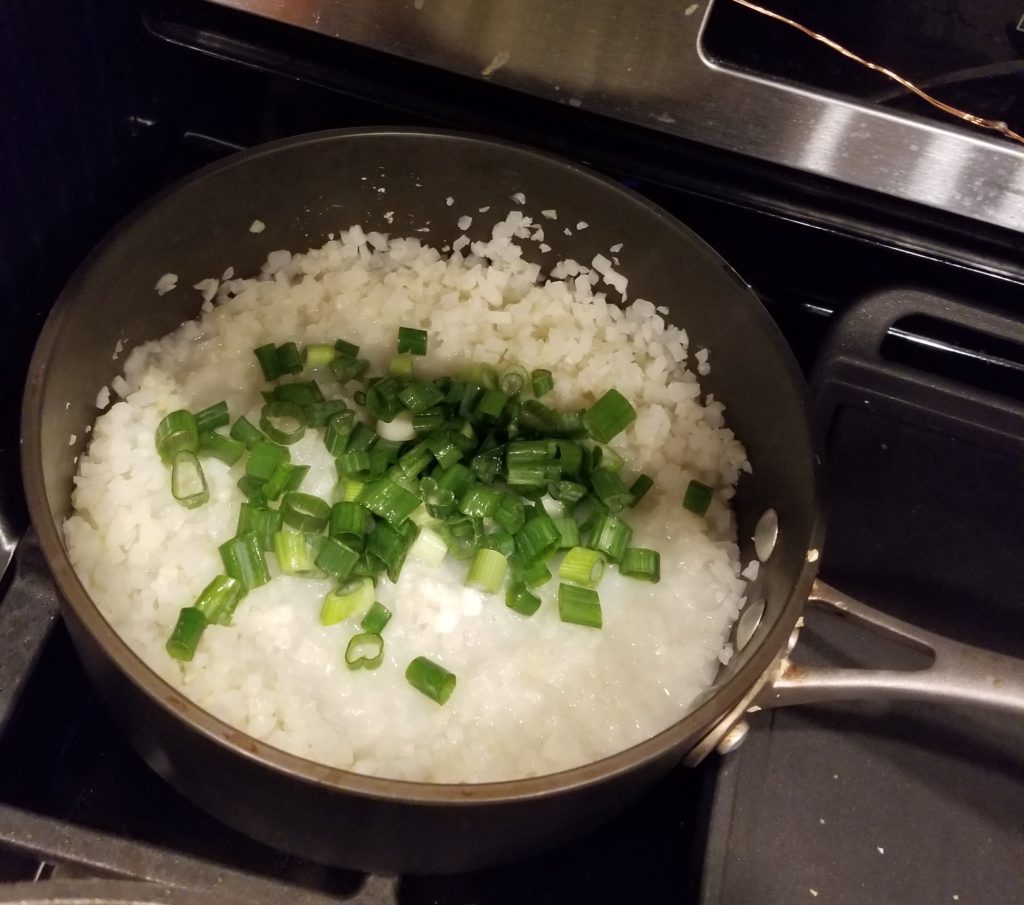
Put the frozen riced cauliflower in a pot over medium heat. Add the scallions, coconut milk, and ginger. Heat until cauliflower is heated through and most of the liquid is absorbed/evaportated. Add the pineapple and heat for a few more minutes. Season to taste with salt and pepper.

Magic One Point Peanut Sauce

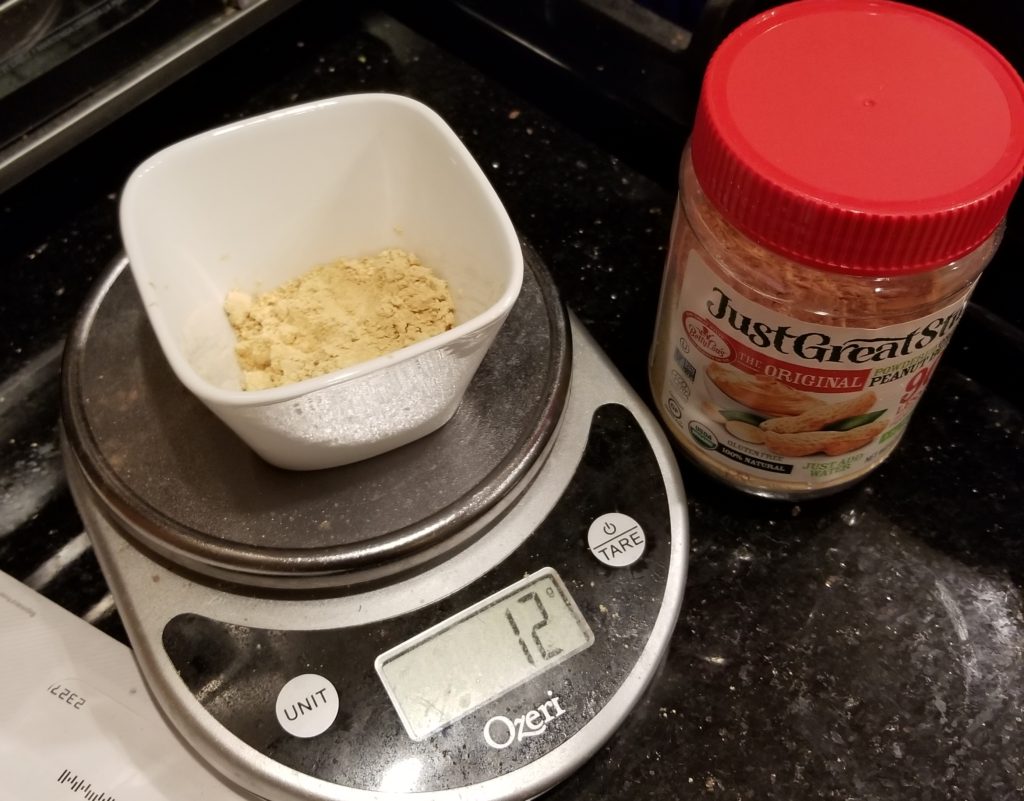
  • 2 tbsp (12 g) powdered peanut butter
  • 4 tbsp water
  • 2 tsp Sriracha

Dissolve the powder in the water, add the Sriracha, and mix it up good. Boom. One point deliciousness.

Other Accoutrements:

  • Peanut sauce from above
  • Pickled red onions from above
  • Lime wedges
  • Fresh cilantro
  • The butter lettuce, leaves peeled off whole and laid gently upon a plate


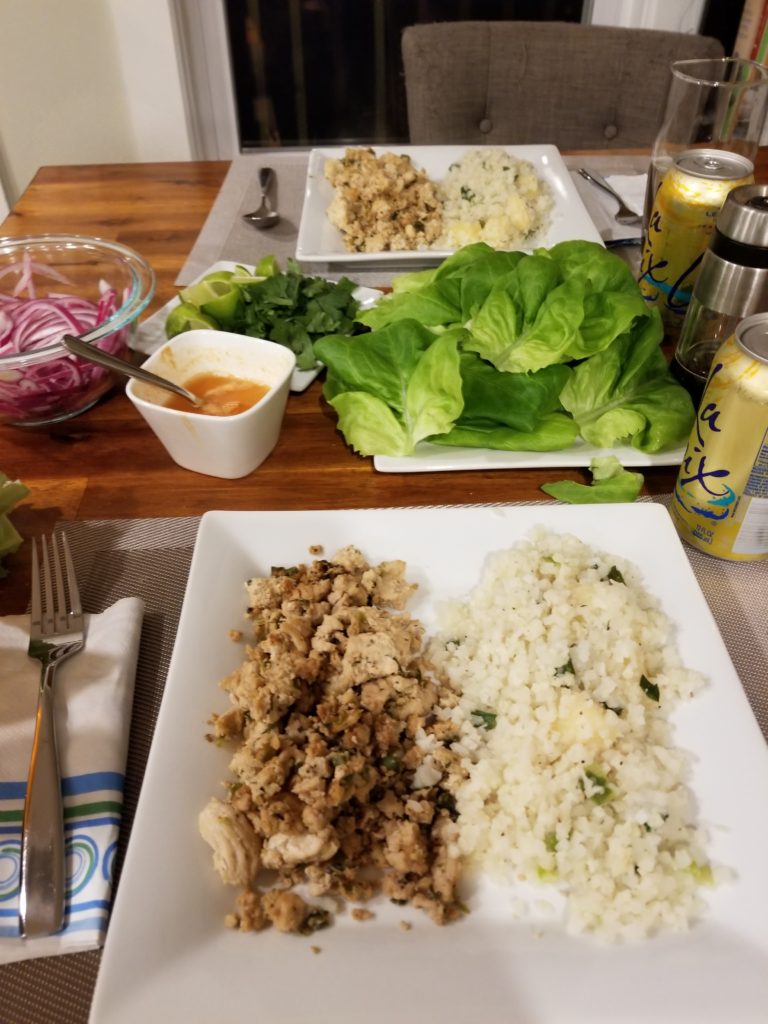
To serve, put the rice and the larb on a plate. My wife likes to mix it all up, I do not.  Assemble wraps in the lettuce leaves with the larb filling, rice, onions, cilantro, a drizzle of peanut sauce and a squeeze of lime. So good.

Larb Servings 4
Ground chicken breast 0 points
20 g canola oil 6 points
Onion/Garlic/Chiles 0 points
Soy, fish & Sriracha sauces 1 point
2 tbsp brown sugar 6 points
Lettuce, lime and cilantro 0 points
Per serving 3 points


Rice Servings 4
Riced cauliflower 0 points
Coconut milk 8 points
Onion 0 points
Ginger 0 points
Per serving 2 points


Peanut Sauce Servings 1
12 g peanut powder 1 points
water 0 points
Sriracha 0 points
Per serving 1 point


Costco Salsa Chicken

Adapted from nowhere, because I INVENTED IT

Servings: we generally get about 12 lunch-sized (1.5 cup) servings out of this.

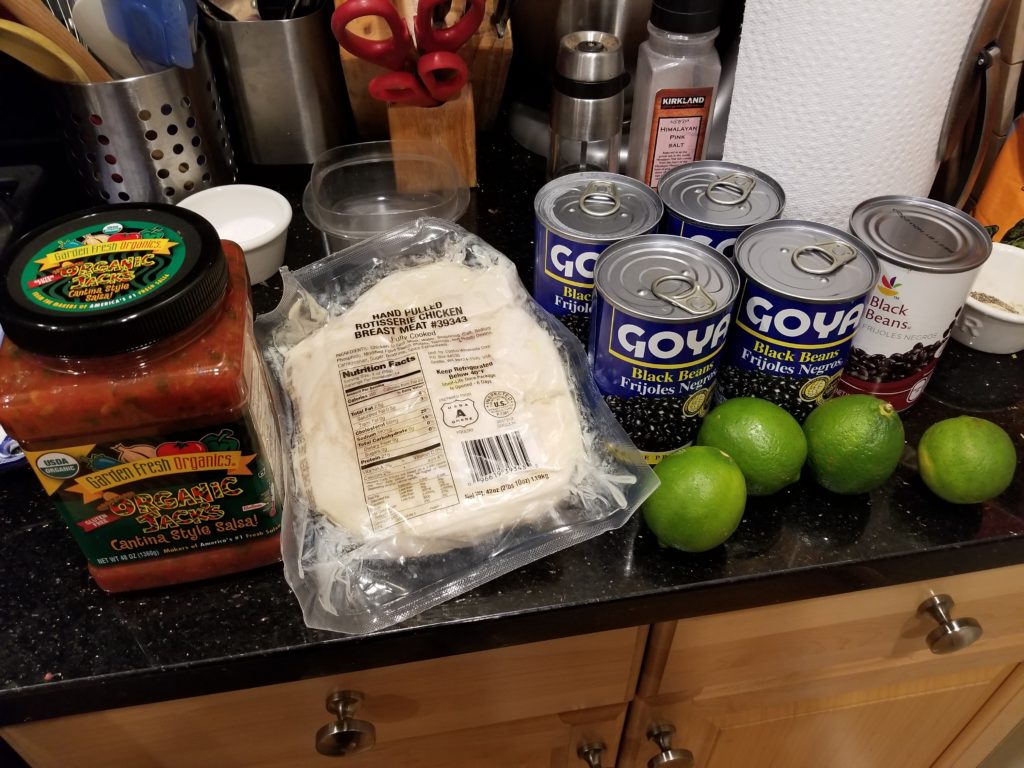
Notes: This is my favorite lunch that you can make entirely from 3-4 ingredients procured from Costco:


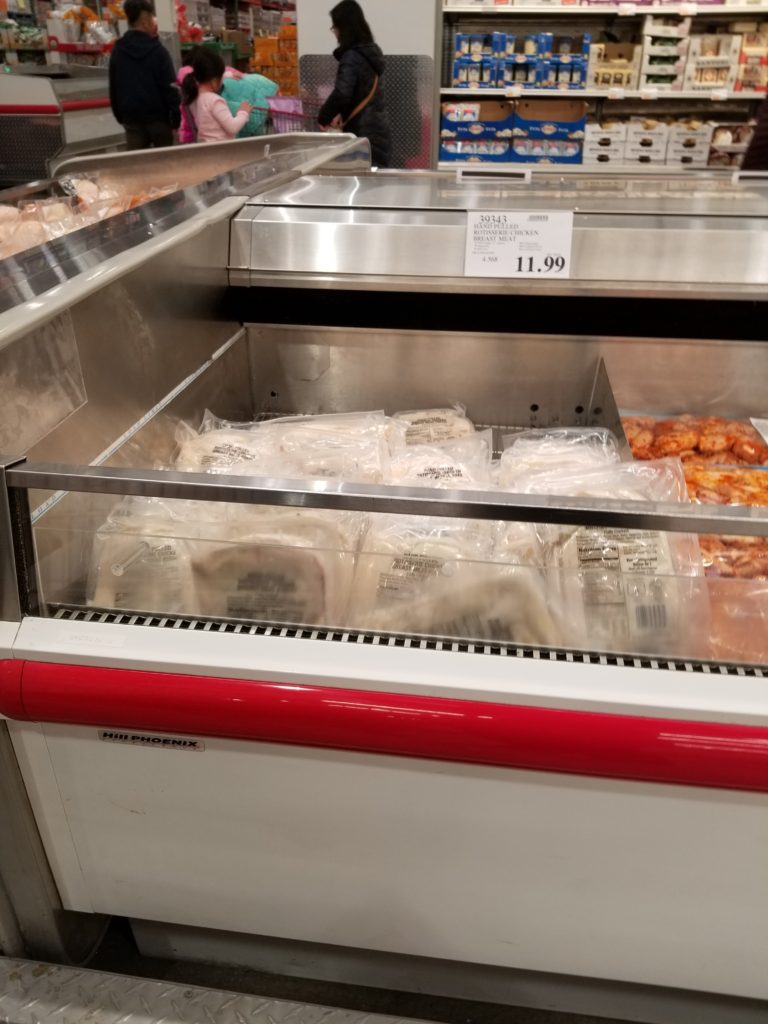
The Hand Pulled Rotisserie Chicken Breast Meat, if you didn’t know, is the most amazing thing. It can be found in this general part of Costco:

I saw it in the store, and I looked at it for a few weeks before I had the nerve to buy it. Something about precooked packaged chicken really skeeves me out, which is unfortunate because raw chicken also skeeves me out too. When I first described it to my wife, it started something along the lines of “it sounds delicious, but looks a little gross.” and then as most conversations with my wife go, I wound up talking myself into buying it, ending with “But I guess I’d also look gross if I was vacuum sealed in plastic. I’m going to try it.”

Anyways, I finally bought it, and now I buy one or two of these a week. Let me further explain this product. You know those delicious $5 rotisserie chickens at Costco? Well, someone has painstakingly pulled the breast off the delicious Costco rotisserie chicken for you, for the low low cost of $11.99. I literally have purchased dozens  if not hundreds of rotisserie chickens in the past, only to pull off the breast and discard the rest (I know, I am a monster. I married a dark meat eater to even things out). This is all the chicken breast, none of the hassle, none of the chicken skin temptation, for $11.99. It’s almost 3 lb of tender, shreddable, non-rubbery precooked chicken breast. It’s magical.

You can do TONS of recipes with this stuff, by just mixing it with whatever sauce you’d like. Barbecue! Buffalo! Curry simmer sauces! The possibilities are endless, with the caveat that they all will cost SmartPoints of the sauce. What sets this recipe apart is that there are no SmartPoints in the sauce. The sauce is salsa. Salsa is the sauce.

Ingredients:

  • Costco “Hand Pulled Rotisserie Chicken Breast Meat” – you could use anywhere from half the package to the whole damn thing (2 lbs, 10 oz to be exact), depending on how many servings you want this to be. Go nuts. I use the whole thing most of the time.
  • Costco-sized (48 oz) jug of fresh salsa
  • Canned black beans – anywhere from 4-6 cans works. I use 5 cans to get 12 servings.
  • Limes (4 or 5)
  • Cilantro (if you have it. There’s also cilantro in the salsa so not totally necessary).

Instructions:

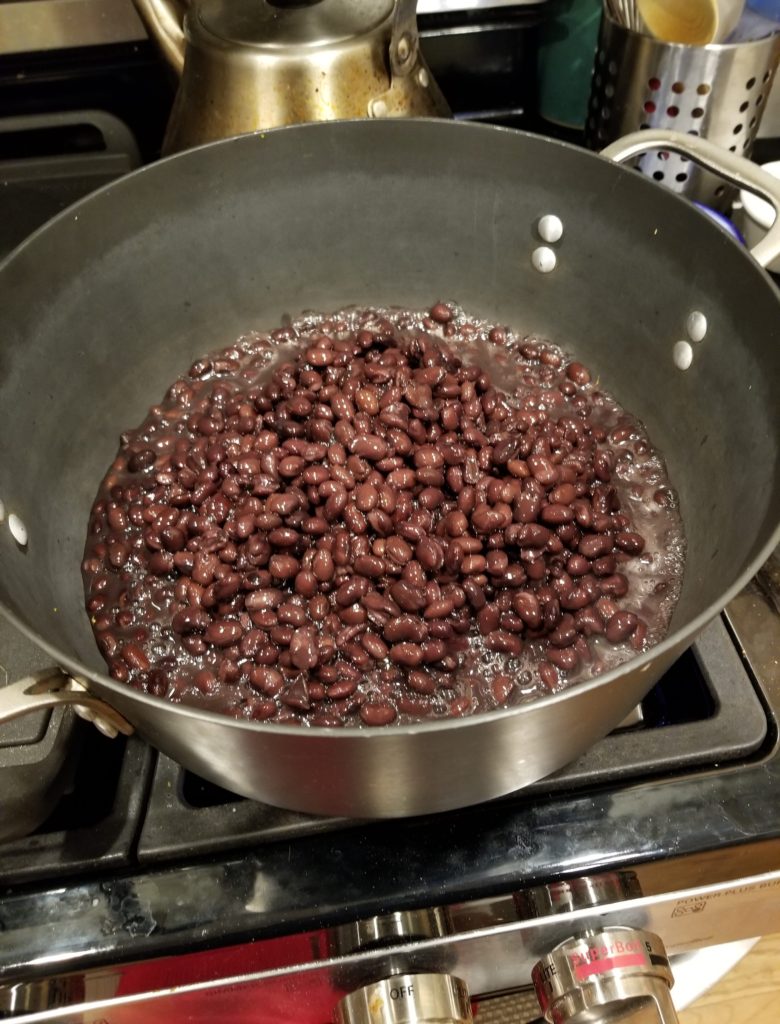
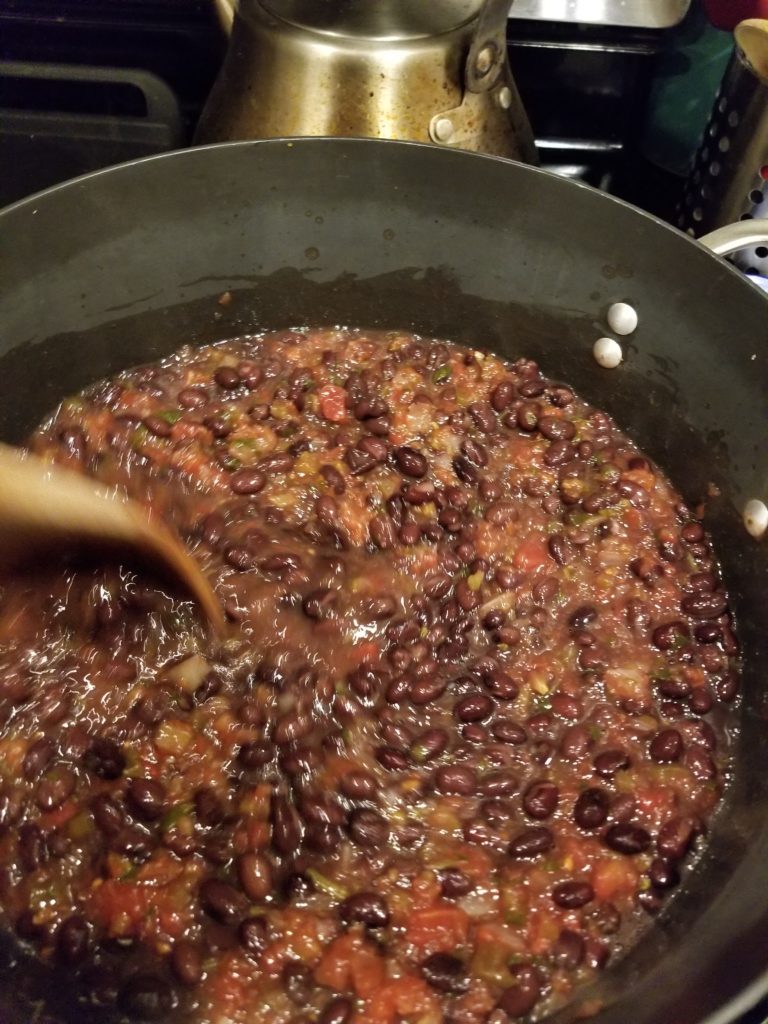
  • Drain the beans and put them in a giant pot.

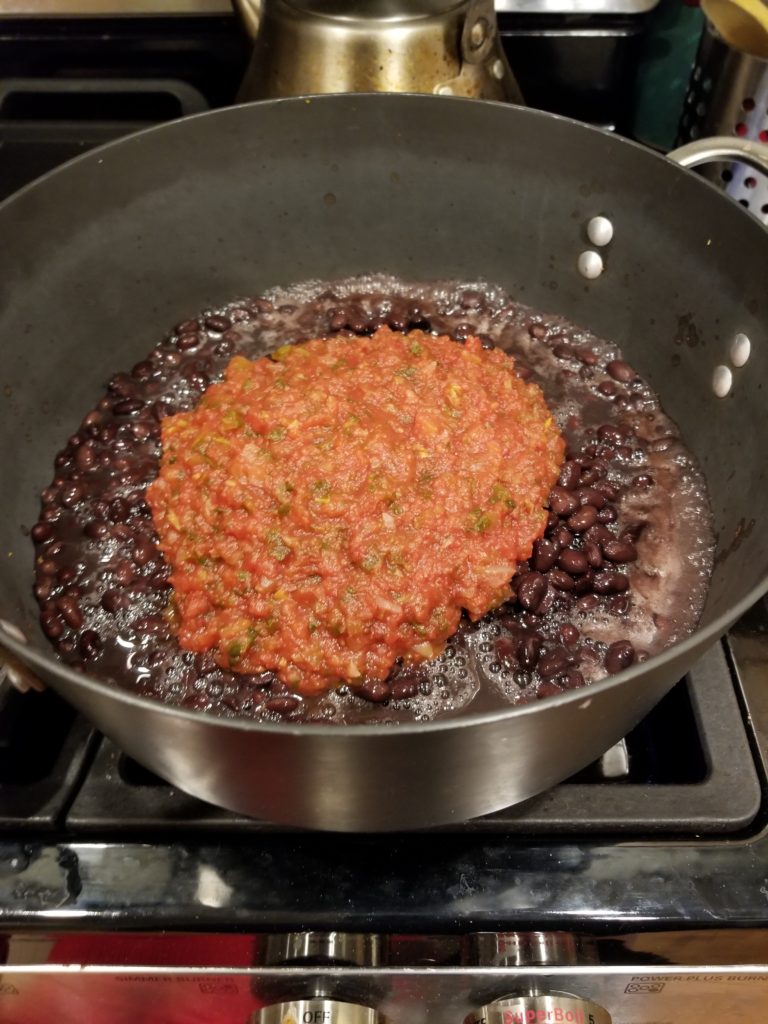
  • Pour half the jug of salsa over the top.

  • Cook the beans/salsa mixture over medium heat until heated through and bubbling.

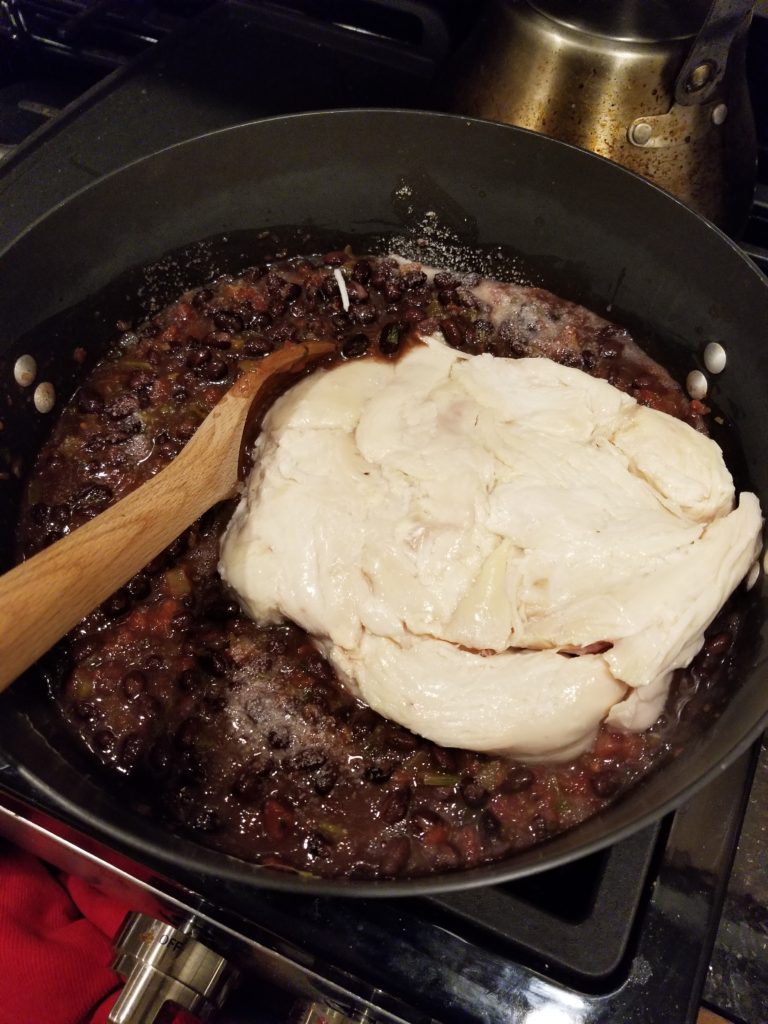
  • Put the chicken in there. It looks like a crime scene, I know.

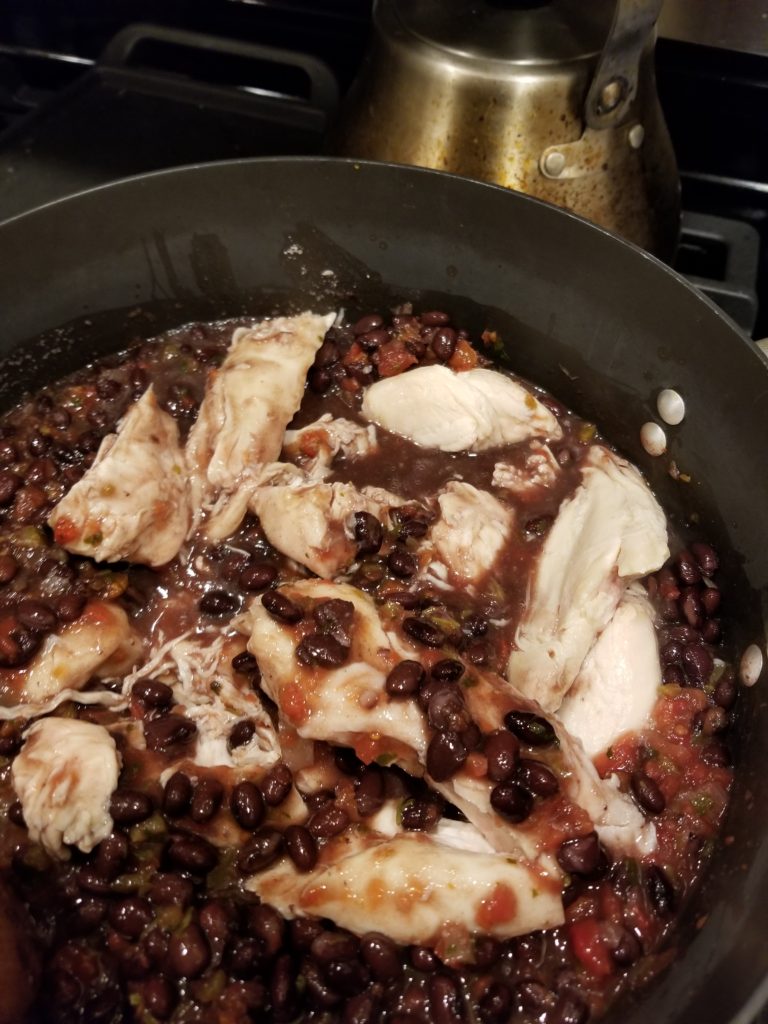
  • Break it up into breasts but don’t worry about shredding it yet.

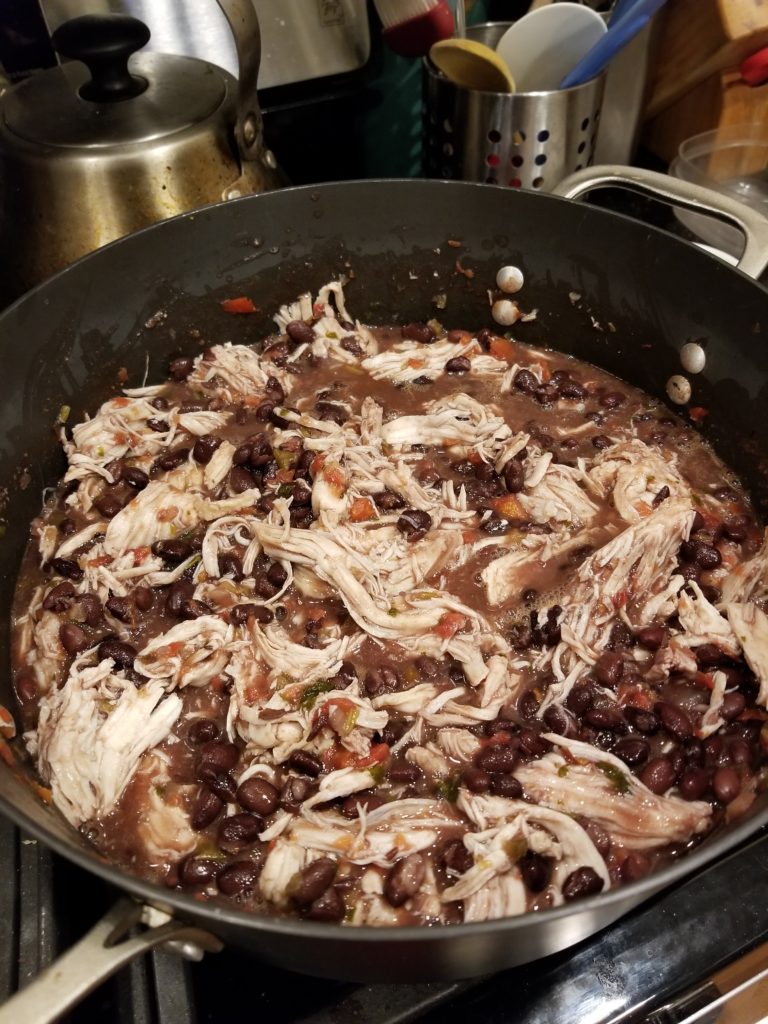
  • Once the chicken is warmed a bit and softened up, it should be shred-able with a fork. Shred it up nice.

  • Once the chicken is all shredded, squeeze the lime juice over the top, season to taste with salt, add the cilantro if you’re using it, and remove from the heat.

We divide this into about a dozen 2 cup lunch containers. I like to kill the second half of the salsa jug by pouring a bit of fresh salsa over the top of each portion.

Here is the Weight Watchers SmartPoints breakdown:

Servings ~12
Chicken breast meat 0 points
Salsa 0 points
Black beans 0 points
Lime juice 0 points
Cilantro 0 points
Points per serving 0 points

Oh would you look at that? ZERO POINTS FOR THIS CRAZY DELICIOUS MEAL.

Turkey Pumpkin Chili

This is adapted from a recipe my mom gave me, I don’t know where from.

Notes: I have added bacon to this dish, because I think bacon is a really great and tasty way to precisely measure the amount of fat I’m adding. I like to use it in lieu of trying to weigh/measure out small portions of oil, but you totally don’t have to! Another tip is that I get the bacon from the butcher counter, which gives me a thicker cut, a precise weight (the three slices are generally between 1/8 and ¼ pound) and lets me avoid having to find a use for the other ¾ pounds of bacon that come in a pack.

Servings: we generally get about 12 lunch-sized (1.5 cup) servings out of this.

Ingredients:

  • 2 lb ground turkey breast
  • 3 thick slices of bacon, diced
  • 1 yellow onion, chopped
  • 2 cloves garlic, minced
  • 2 serrano chiles, sliced
  • 2ish tbsp cumin
  • 2ish tbsp chili powder
  • 2ish tsp cayenne
  • 2 cans pumpkin puree
  • 1 can pinto beans
  • 1 can black beans
  • 1 can diced tomatoes

Instructions:

  • Heat the diced bacon in a large skillet over medium heat until fat is rendered and it is browned
  • Add onions, garlic and serrano chiles to the bacon, sautee until the onions are softened
  • Add turkey breast, 1 tbsp of cumin, 1 tbsp of chili powder, 1 tsp of cayenne, plus salt and pepper to taste
  • Heat the seasoned turkey mixture until turkey is cooked through and browned.
  • Transfer turkey mixture to a crockpot. Add pumpkin, beans, and tomatoes. Add remainder of seasonings, plus more to taste.
  • Heat in crockpot on high for 4-6 hours, or low for 8-10 hours.
  • Unplug the crockpot when you are done cooking with it, you maniac.

Weight Watchers SmartPoints breakdown:

Servings 10-12
Ground turkey breast 0 points
3 Slices Bacon 3 points
Onion/Garlic/Chiles 0 points
Spices 0 points
Pumpkin puree 0 points
Beans 0 points
Tomatoes 0 points
Per serving 1 point